Inserting Images
You can insert an image onto your page 3 different ways. Insert images individually, as a background, or using our CLICK-TO-CLICK feature! Follow these steps when inserting an image.
A) How to Insert Individual Images
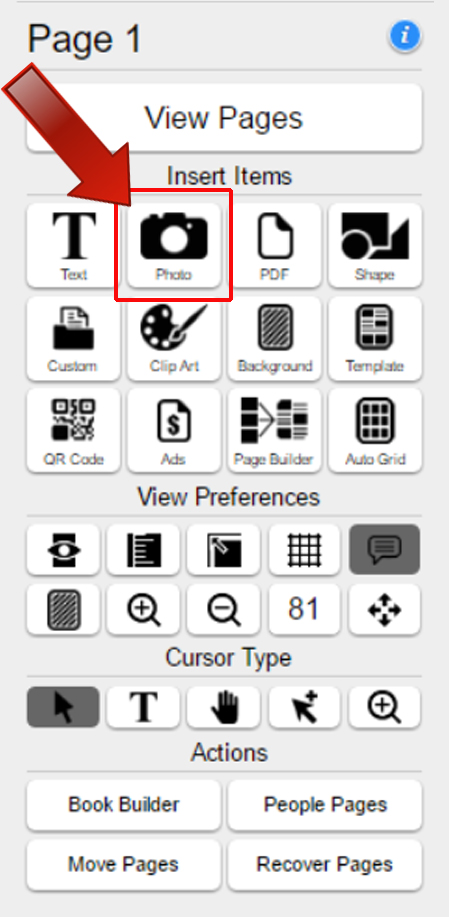
- On the Insert Items options, click on the "Insert Photos" button.
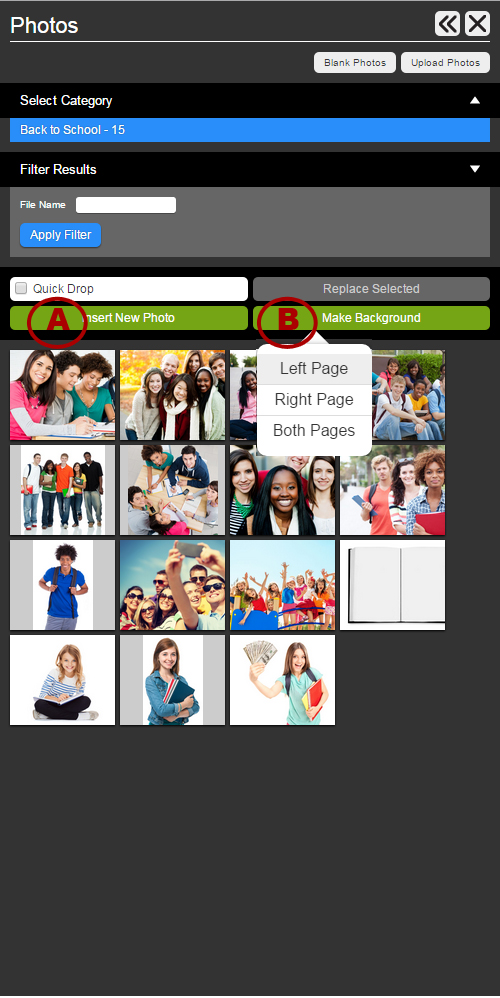
- Select a category to view the uploaded images.
- Select an image that you would like to use by simply clicking on the photo. (Photos will highlight in green once selected.)
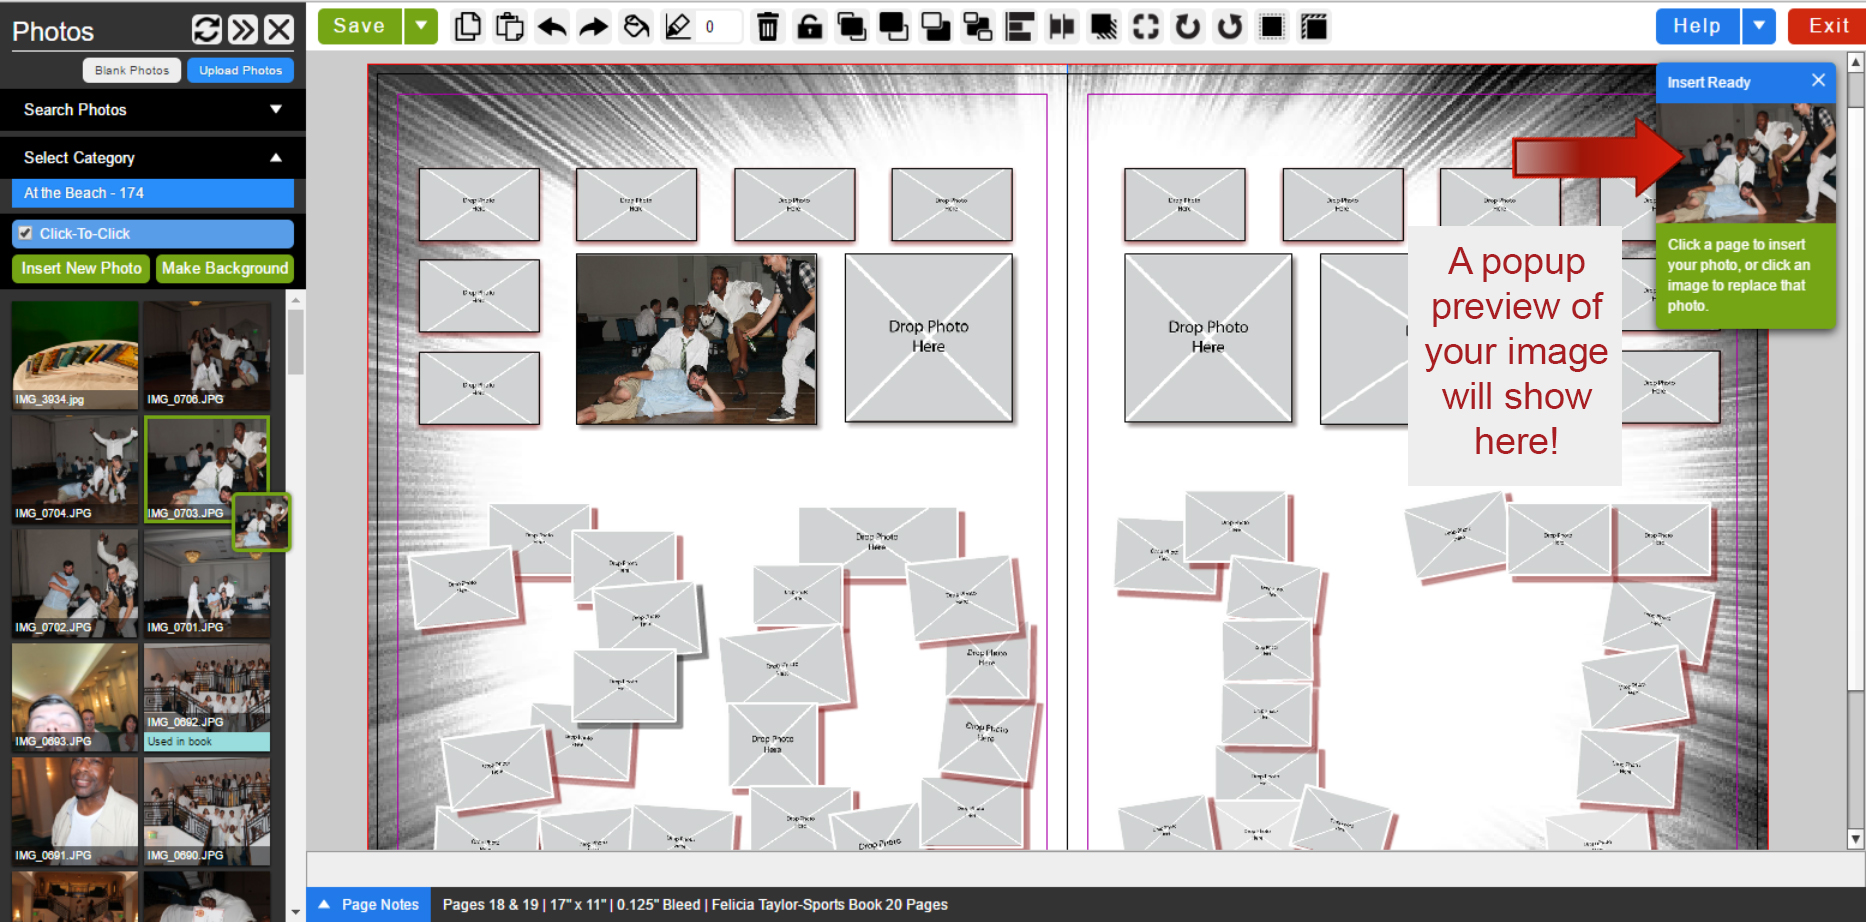
- Click the page you wish to insert the photo(s). The photo(s) will generate onto the page based on the size of the photo. (Note: If you have blank picture boxes on your page you, you can drop the photo on it by selecting the photo and then clicking on the picture box.)
- Each time you select a photo a popup thumbnail will preview at the top right corner of your workstation.
B) Inserting Images As A Background
- On the left, click on the "Insert Photo" button.
- Browse your photo categories, select a category to view the corresponding images as shown below.
- Select one image that you would like to use by simply clicking on the photo. (Note: It will highlight with a green border once selected.)
- Click Make Background, choose Left Page, Right Page, or both pages
How to use the refresh button in the photo editing menu
It is important to keep track of the photos that you have already placed on your pages so that you don't use the same photo on more than one page. In our photo editing menu, if you have used a photo in youryearbook, it will have a blue 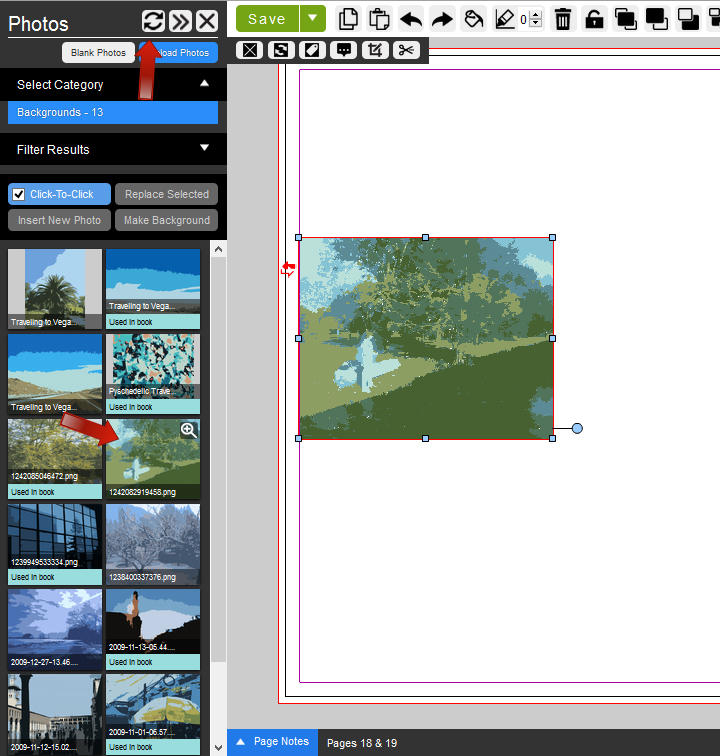 border and it will say "Used in Book".
 border and it will say "Used in Book".
 Example: 1
Insert a photo that has not yet been used in the book.
After you "Save" your page; click on the Refresh button, and the image will be labeled "Used in Book".
How to Insert blank photo boxes
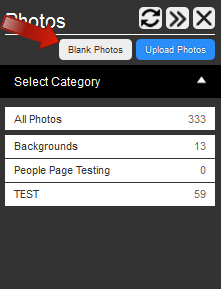
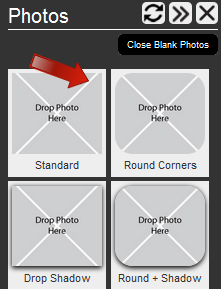
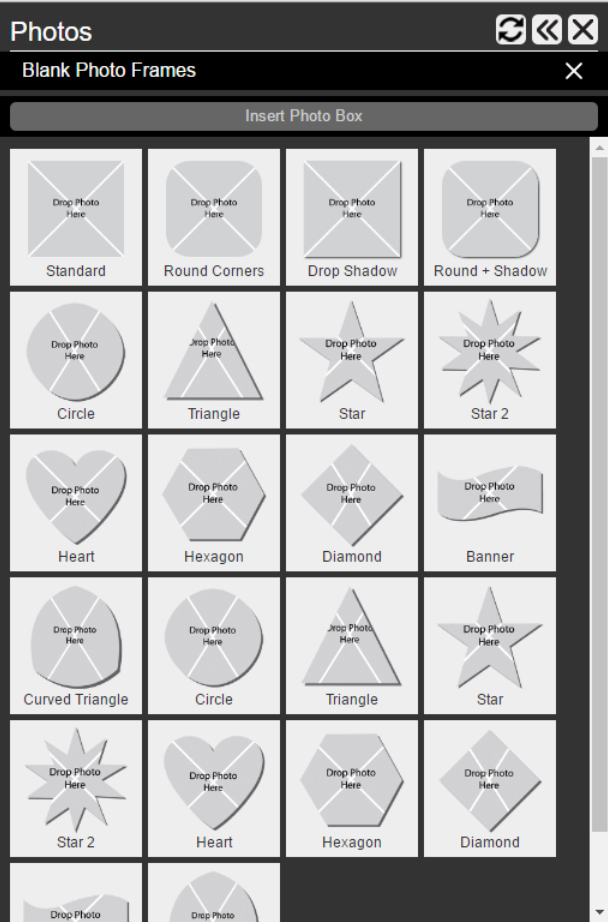
Click on the "Insert Photo" icon. From here, you will see a button at the top that says "Blank Photos". You can then choose a drop photo box, and hit "Insert Photo Box" or click on the page you want to insert the photo box. There are lots of different shapes to choose from!
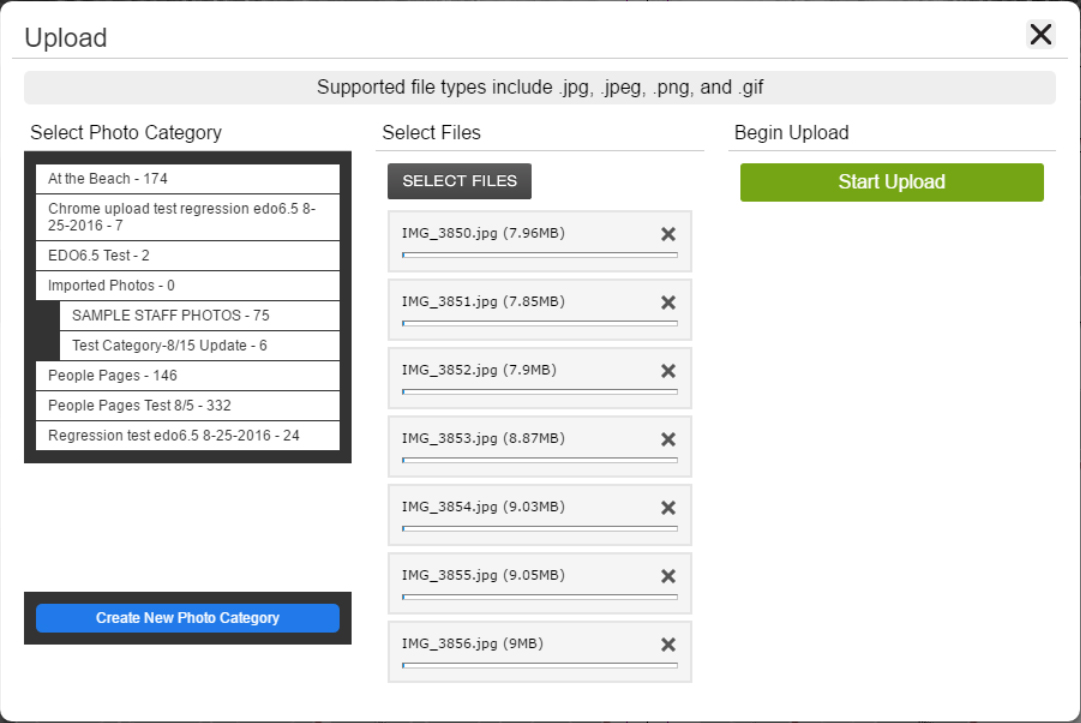
Uploading images within the page designer
Uploading photos from the page designer is very simple. When you are on a page, Click on the "Insert Photos" button.
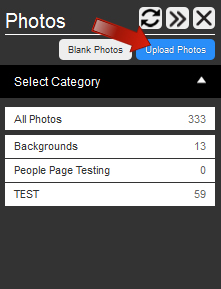
There will be a blue button at the top that says "Upload Photos".
- Select a category (Note: You can create a new photo category if needed.)
- Browse for your files by clicking the "Select Files" button.
- Click the "Start Upload" button to upload your images.
Related Articles
Inserting Clip Art
Browse our gallery of clip art to insert onto your page to give it a more distinctive look. There's a wide variety to choose from ranging from holidays, events and everyday images. How to Use Clip Art 1. Click on the "Insert Clip Art" button from ...Inserting Ads and Editing
After you have reviewed and approved all your yearbook ads; you are ready to placed them into your pages. If later there's an ad that needs further editing it is possible to do so without exiting out of the page designer. You can insert and edit your ...Inserting and Customising Your Text
You can now insert and edit your text boxes by creating and saving custom text styles. Click on the "Insert Text" button (The icon that looks like a "T") to open your text styles options. Each text style option will show a saved font, color of ...What Does Low Resolution Mean?
All digital photos are made up of many pixels (squares) that together make up the image – much like a mosaic. The higher the resolution, the more pixels there are, and the smaller those pixels appear. A very high-resolution image will have barely ...Checking Image Resolution
Please be aware: photos below 800kb are usually too small to use. Any photo below 500kb we cannot use. PC To check multiple images at once: Navigate to the folder that you have saved the photos in and open the folder You should now see in the finder ...