Inserting Clip Art
Browse our gallery of clip art to insert onto your page to give it a more distinctive look. There's a wide variety to choose from ranging from holidays, events and everyday images.
How to Use Clip Art
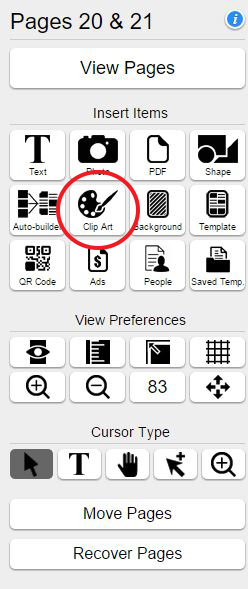
1. Click on the "Insert Clip Art" button from the Insert Items in the Main Menu. (Note: This button looks like a painter's pallet.)

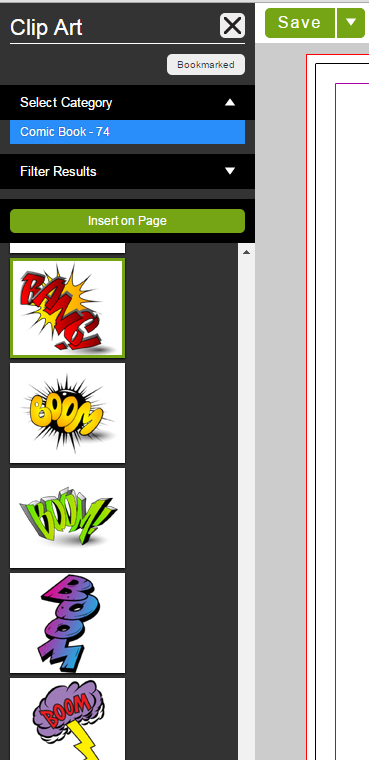
2. Select the clip art that you would like to add, and click "Insert On Page" as shown below.
3. Search using the list of categories to view the available Clip Art.

Searching Clip Art Categories
1. Click on the "Insert Clip Art" button from the Insert Items in the Main Menu.
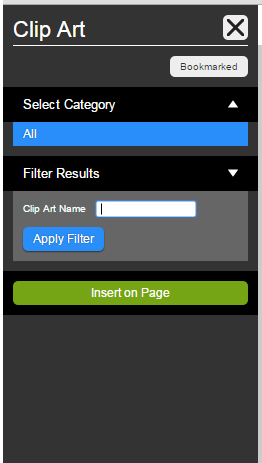
2. Click on "Filter Results" and a search field "Clip Art Name" will appear.
3. Type in search box the clip art that you are looking for.

How to Use Bookmarked Clip Art
1. Under the "Collaborate" within the home page, click on the "Explore" tab.
2. Then click on the "Clip Art and Backgrounds" and go to the bottom of the list to find the Clip Art section.
3. Pick and select the clip art you want to bookmark.
4. When in the designer you will now see your bookmarked clip art .
5. Click on the "Insert Clip Art" button from the Insert Items in the Main Menu.
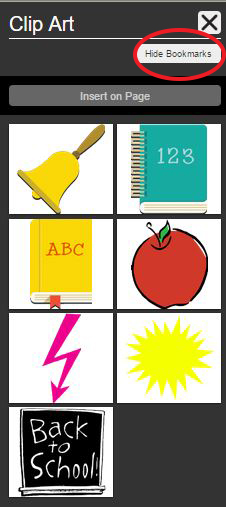
6. Click on Bookmarks and insert.

Upload Custom Clip Art
1. Click on "Insert Photo" button from the main insert items menu.2. Choose on the "Upload" Tab.3. Choose the category that you want to upload your clip art images to (Note: You can create a new category and name it "My Clip Art")4. Upload your clip art images (If you have an image with a transparent background, it will need to be a PNG file type.) button.5. Then, you can access your uploaded clip art from the "Insert Photos".

Related Articles
Inserting Images
You can insert an image onto your page 3 different ways. Insert images individually, as a background, or using our CLICK-TO-CLICK feature! Follow these steps when inserting an image. A) How to Insert Individual Images On the Insert Items ...Image clear-cutting (Click-to-Clip)
Click-to-Clip Here's a great tool to help you edit your photos in a more refined way. You've got a photo that you'd love to use, but it's cluttered with a background that you don't want. This isn't an easy task to accomplish sometimes especially ...Inserting Ads and Editing
After you have reviewed and approved all your yearbook ads; you are ready to placed them into your pages. If later there's an ad that needs further editing it is possible to do so without exiting out of the page designer. You can insert and edit your ...Inserting and Customising Your Text
You can now insert and edit your text boxes by creating and saving custom text styles. Click on the "Insert Text" button (The icon that looks like a "T") to open your text styles options. Each text style option will show a saved font, color of ...Backgrounds
Go into the EDOnline Page Designer and begin using the backgrounds by following these steps: How to insert Backgrounds Click on the "Insert Backgrounds" button in the top left menu. (Note: This button looks like a page.) 2. You ...