Inserting and Customising Your Text
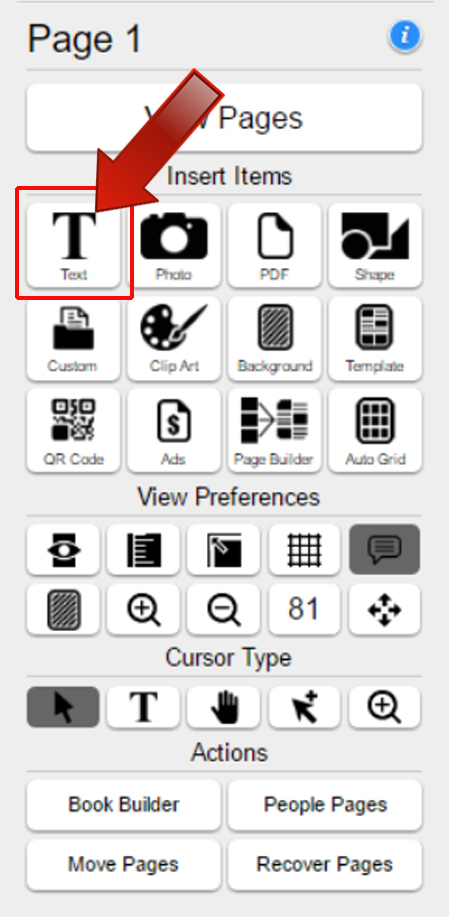
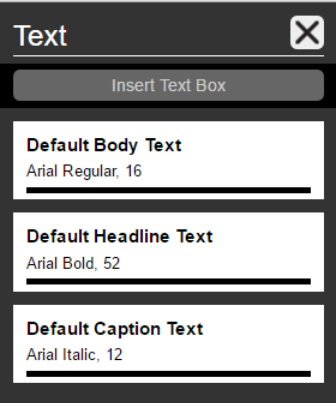
You can now insert and edit your text boxes by creating and saving custom text styles. Click on the "Insert Text" button (The icon that looks like a "T") to open your text styles options. Each text style option will show a saved font, color of font, and point size. By default you will start out with the following saved Text Styles:
- Default Body Text (Arial Regular, 16pts)
- Default Headline Text (Arial Bold, 52pts)
- Default Caption Text (Arial Italic, 12pts)
(Note: These are suggested styles for your body text, header text, and caption text. You don't need to use these styles if you prefer something different. With these styles you can make your changes and save it as a new text style.)
How to insert and edit Text
- Click "Insert Text" button that looks like a "T" from the Insert Menu.
- A text box will appear on the page.
- Double click to start typing into the text box.
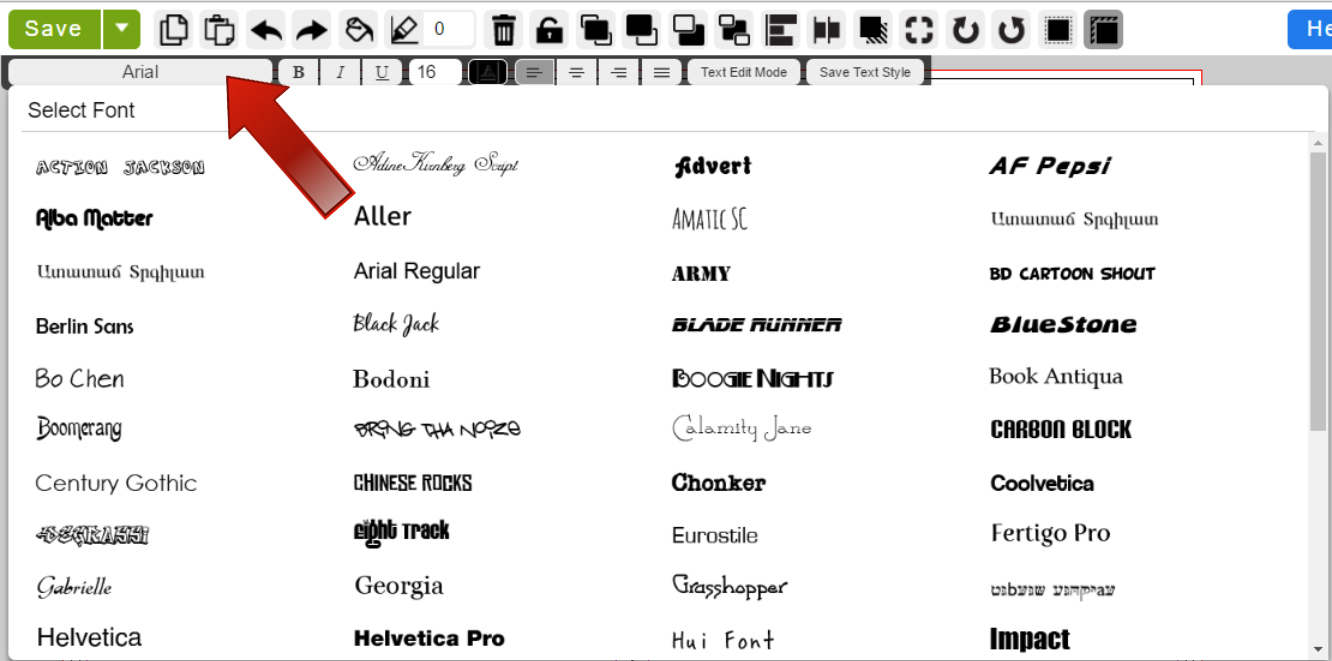
- With the text box selected your text edit tools will appear at the top of your work station.
- Font
- Text styles: Bold, Italic, Underline
- Point Size
- Text color
- Paragraph alignment: Left, Center, Right, Justified
- Text Edit Mode
- Save Text Style
(Note: When you insert a text box onto your page; your page will highlight grey as long as the text box is selected. This is the "Limit Move Region" function to prevent you from positioning your text box in a location that is too close or beyond the trim line.)

Limit Move Region

To assist you in keeping your text within the page safety area we have added a new feature, "Limit Move Region." After placing your text box onto your page; a grey box will appear that covers the entire area that is safe to place your text box. This is to ensure any important text doesn't get cut off. If you would like to turn this feature off, simply click the Limit Move Region icon to deactivate the feature. (Note: Any text placed beyond the safety limits of your page are in danger of being cut off.)
Choosing fonts
To choose a font, just select a text box and click on the font menu. A font picker window will show all available fonts. We made it easier to be able to preview what the font looks like.
In the text tool bar, you will also see that we have new text styles available: Bold, Italic, and Underline.
(Note: Not all fonts will have the text style Bold and Italic.)
Text Edit Mode
When using the "Text Edit Mode" feature; this allows you to view only the text to make your edits. With a text box selected click the Text Edit Mode button to edit and format your text.
Click the "Close Text Edit Mode" button to exit.

Advanced Options
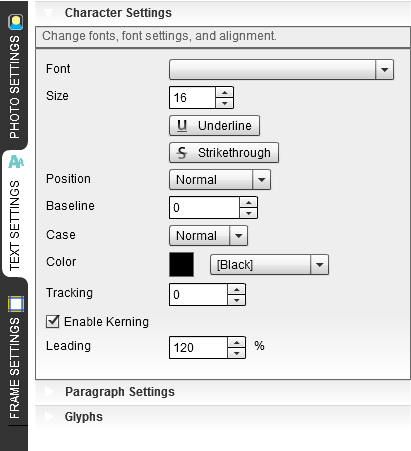
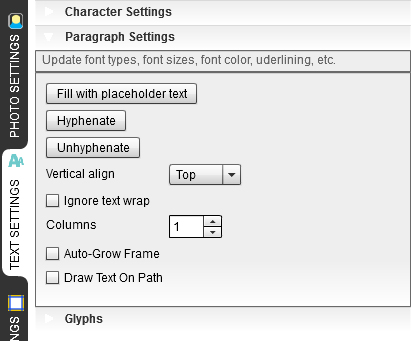
Use our redesigned Advanced options to further customise your text. In addition to changing fonts, colour and size you can make your text stand out and impact your page more with these features:
- Add Tracking - Control the spacing between your text.
- Leading - Edit the baseline of successive lines of type.
- Hyphenate or not hyphenate your text.
- Change the alignment within your text box and the direction your text flows in it.
- Down
- Up
- Left
- Right
- Center, Horizontal
- Center, Vertical

Related Articles
Create/Insert Text Styles
Customise your text using the "Text Styles" feature. This is a new text style feature that will be released into the EDOnline 7.0 soon. Similar to using a word processing application you can create settings for your text and save them to be used on ...Inserting Images
You can insert an image onto your page 3 different ways. Insert images individually, as a background, or using our CLICK-TO-CLICK feature! Follow these steps when inserting an image. A) How to Insert Individual Images On the Insert Items ...Inserting Ads and Editing
After you have reviewed and approved all your yearbook ads; you are ready to placed them into your pages. If later there's an ad that needs further editing it is possible to do so without exiting out of the page designer. You can insert and edit your ...Inserting Clip Art
Browse our gallery of clip art to insert onto your page to give it a more distinctive look. There's a wide variety to choose from ranging from holidays, events and everyday images. How to Use Clip Art 1. Click on the "Insert Clip Art" button from ...Adding Shape Elements
Adding shapes to your pages can be fun and easy. You can also customise your shapes as well with our custom tool "Edit Path" which is located at the top of your workstation. This tool will appear once you have placed the custom shape onto your ...