Homepage and Tab Navigation
Homepage
Welcome all to your yearbook project! I know you’re anxious to get started designing your pages but I would like to take your through the steps of getting your account set up first. This will give you the opportunity to make sure your account specifications is as it should be. You can also take the opportunity to make any additions updates or requests if you feel your account has been set up incorrectly.
- Confirm your Book Specs
- Set up your Online Sales
- Set up your Yearbook Staff
Book Specs
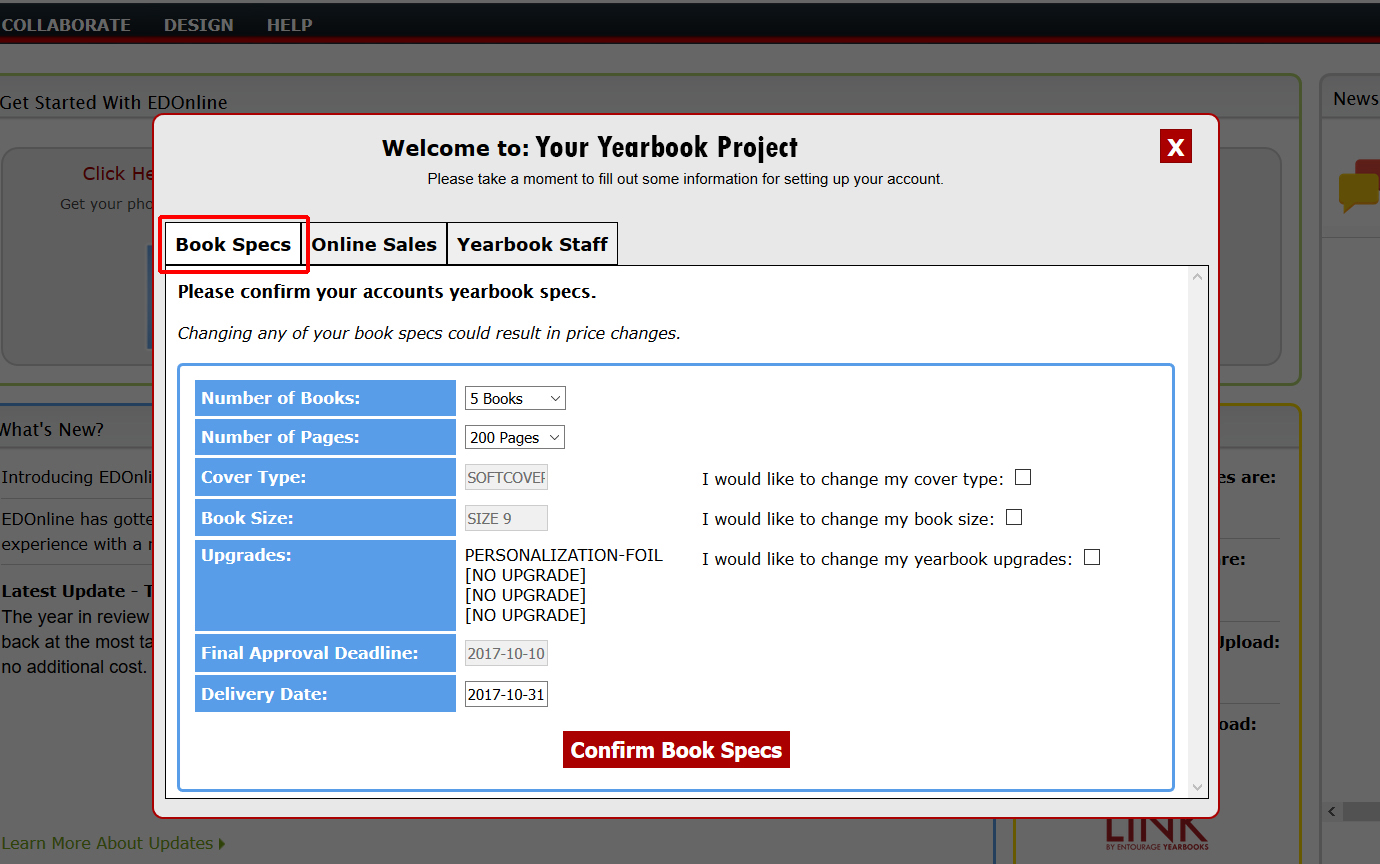
Make sure to confirm the following information and make your changes accordingly. If you decided to make any changes to your account a notification will be created and submitted to your account and Sales representative. Select the check box of what you would like to change and select your changes from the drop down options. Please keep in mind this may affect your account balance.
- Number of Books
- Number of Pages
- Cover Type
- Book Size
- Upgrades
- Final Approval Deadline
- Delivery Date
Online Sales
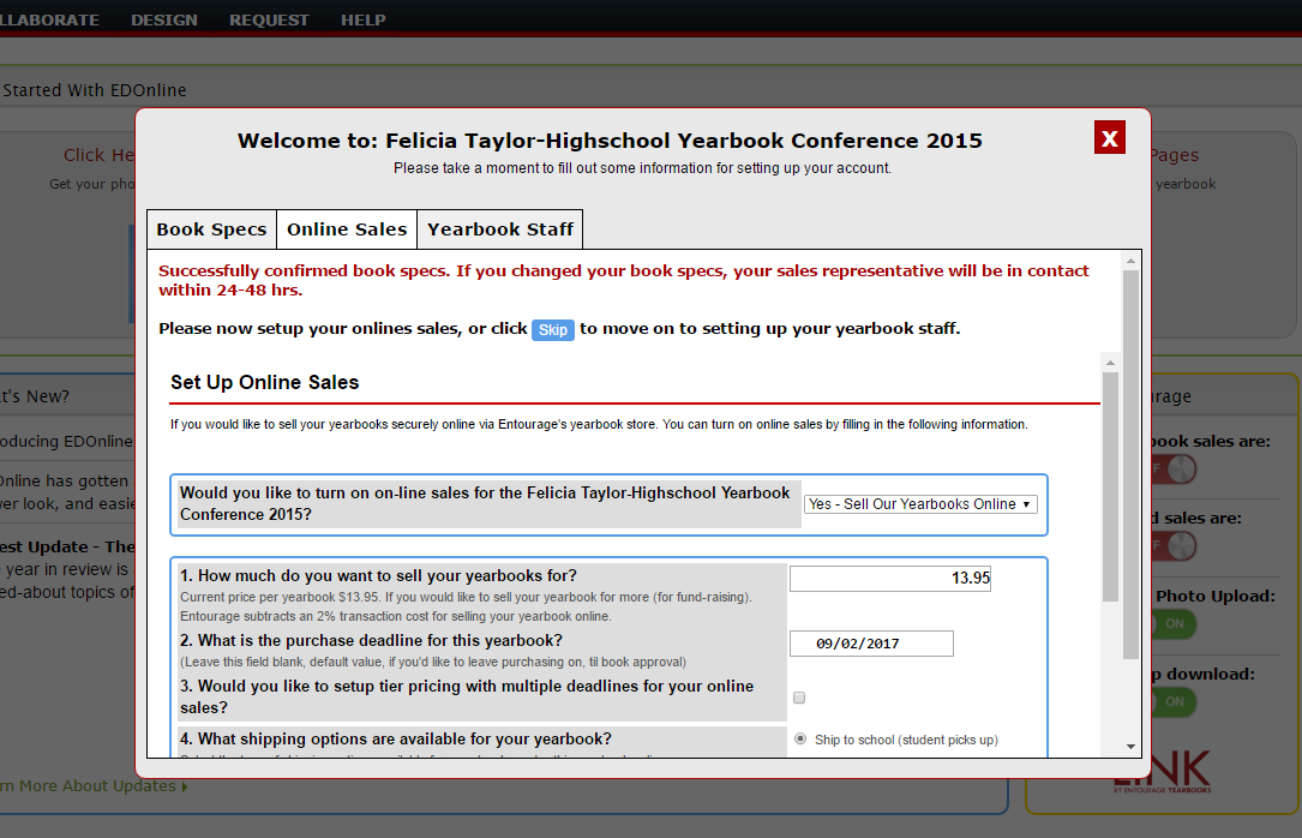
The next step in setting up your account is your yearbook store. It's best practice to get the ball rolling in sales and you'll want to give your customers ample notification ahead of time. Or if you choose to you can skip this step and move on to the next tab to set up your yearbook staff.
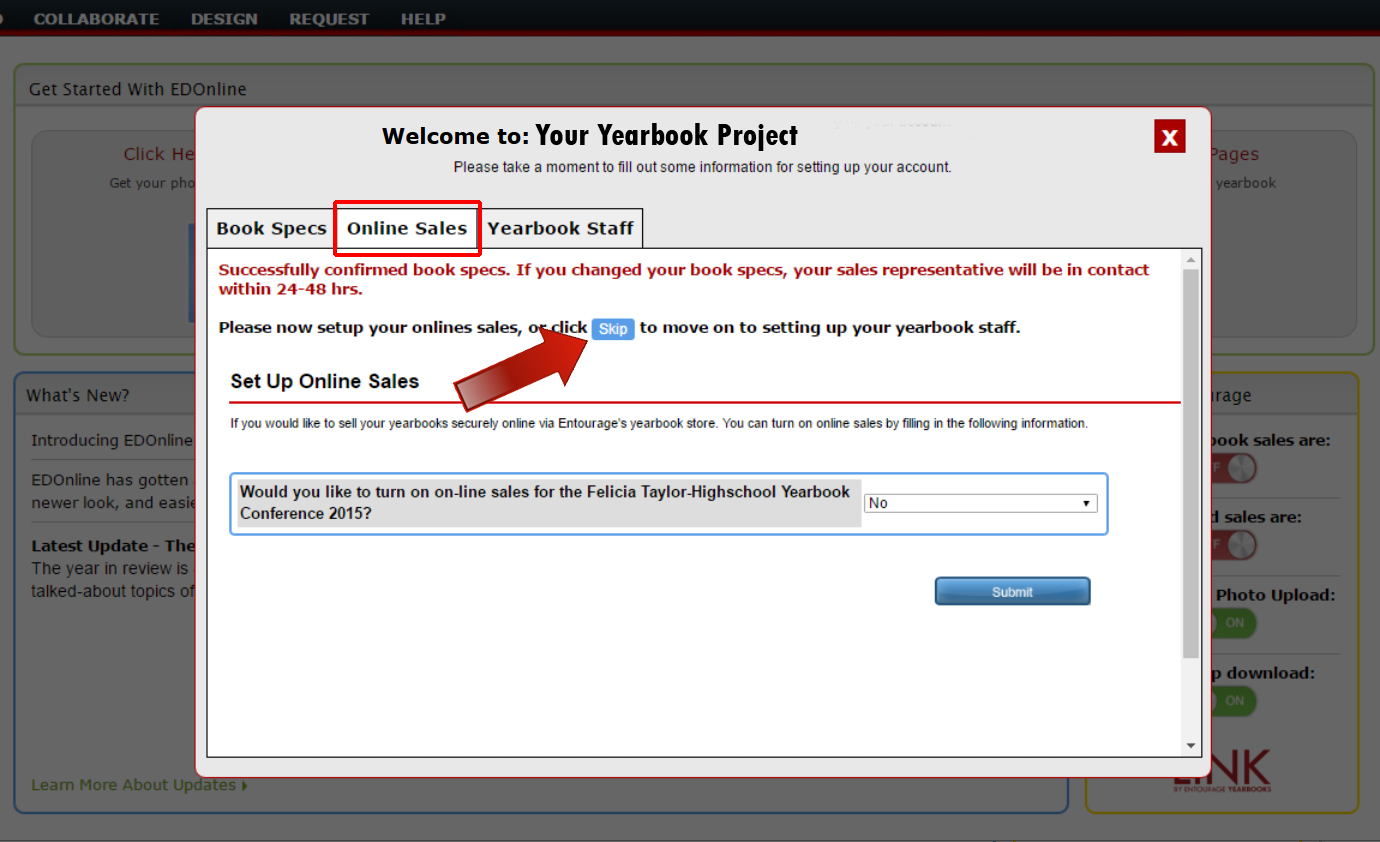
Set up your book price, purchase deadline along with additional requirements for your customers.
Click the "Submit" button to complete set up of your store.
Setup Your Yearbook Staff
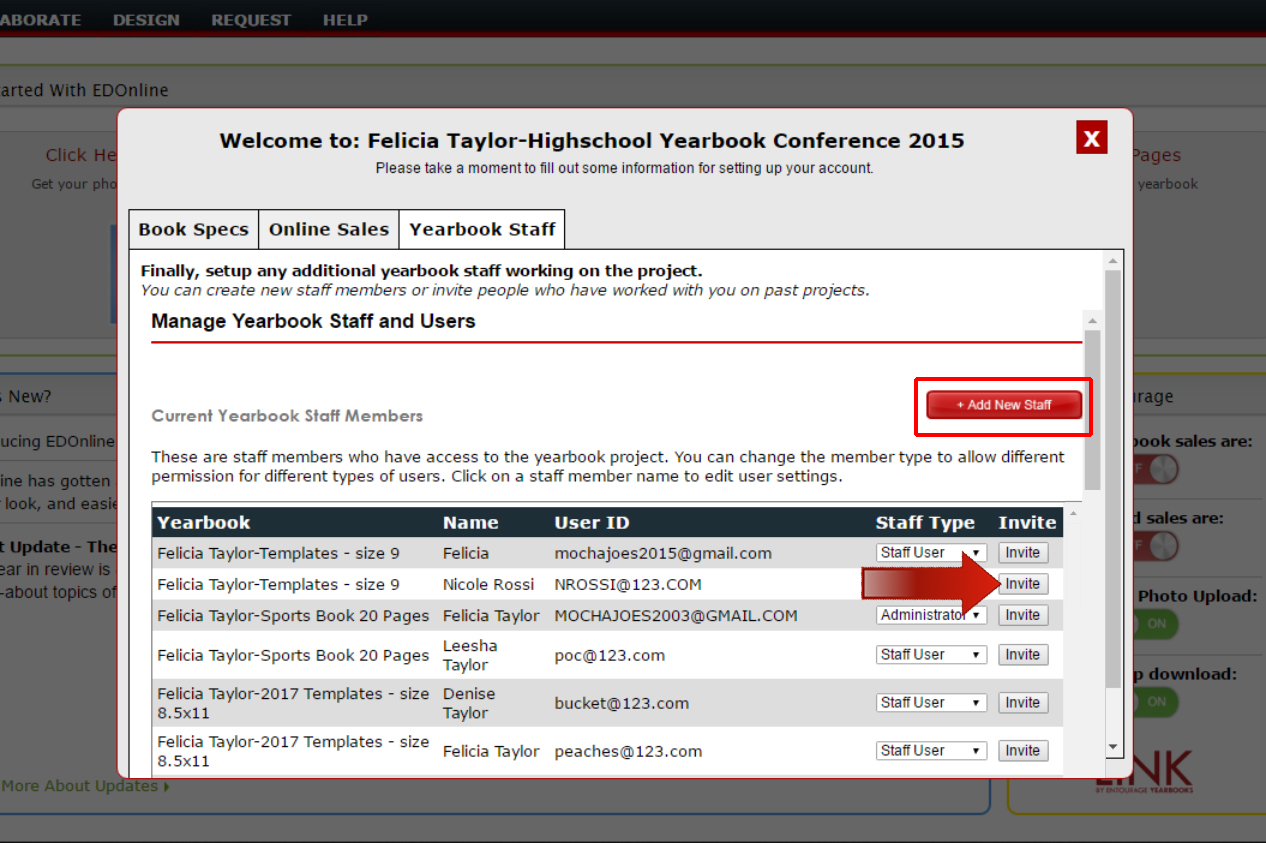
The final step is setting up your yearbook staff. You can click on the +Add New Staff button or scroll down the window and invite past staff members who've worked on the past yearbook projects to assist you in working on the project this year. When you click the "Invite" button the staff member will receive an email notification inviting them to become an approved staff member for your current project. Once you have completed your changes your account setup is complete!
Getting Started
The "Getting Started" area will dynamically change according to where you may be in your yearbook progress. Starting with the essentials for kicking off your yearbook and progressing to other features that may be more essential as your project is coming to completion. Click on the buttons to navigate to the features.
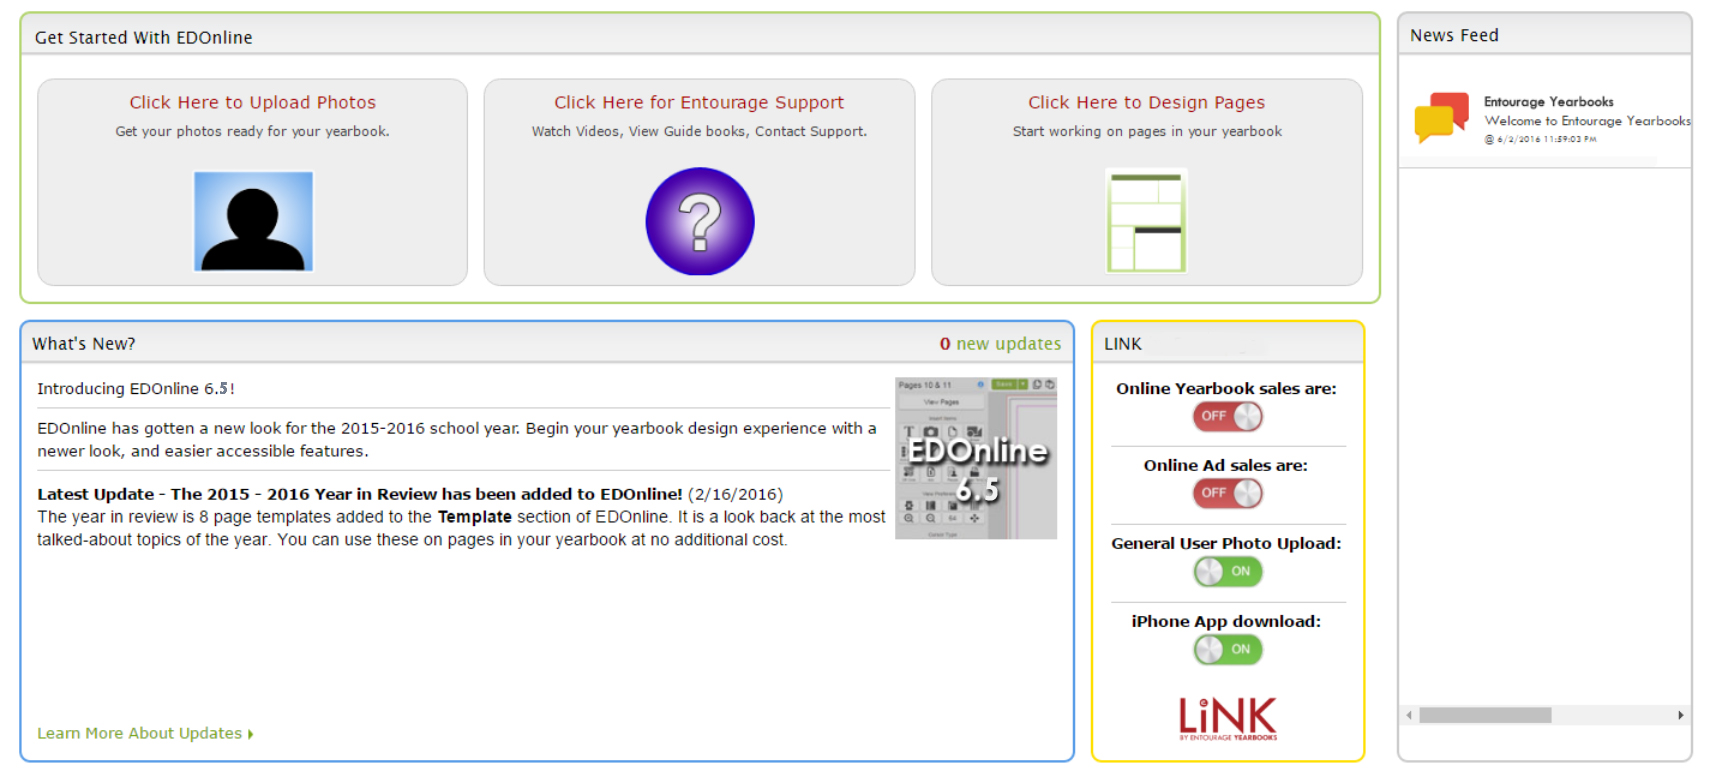
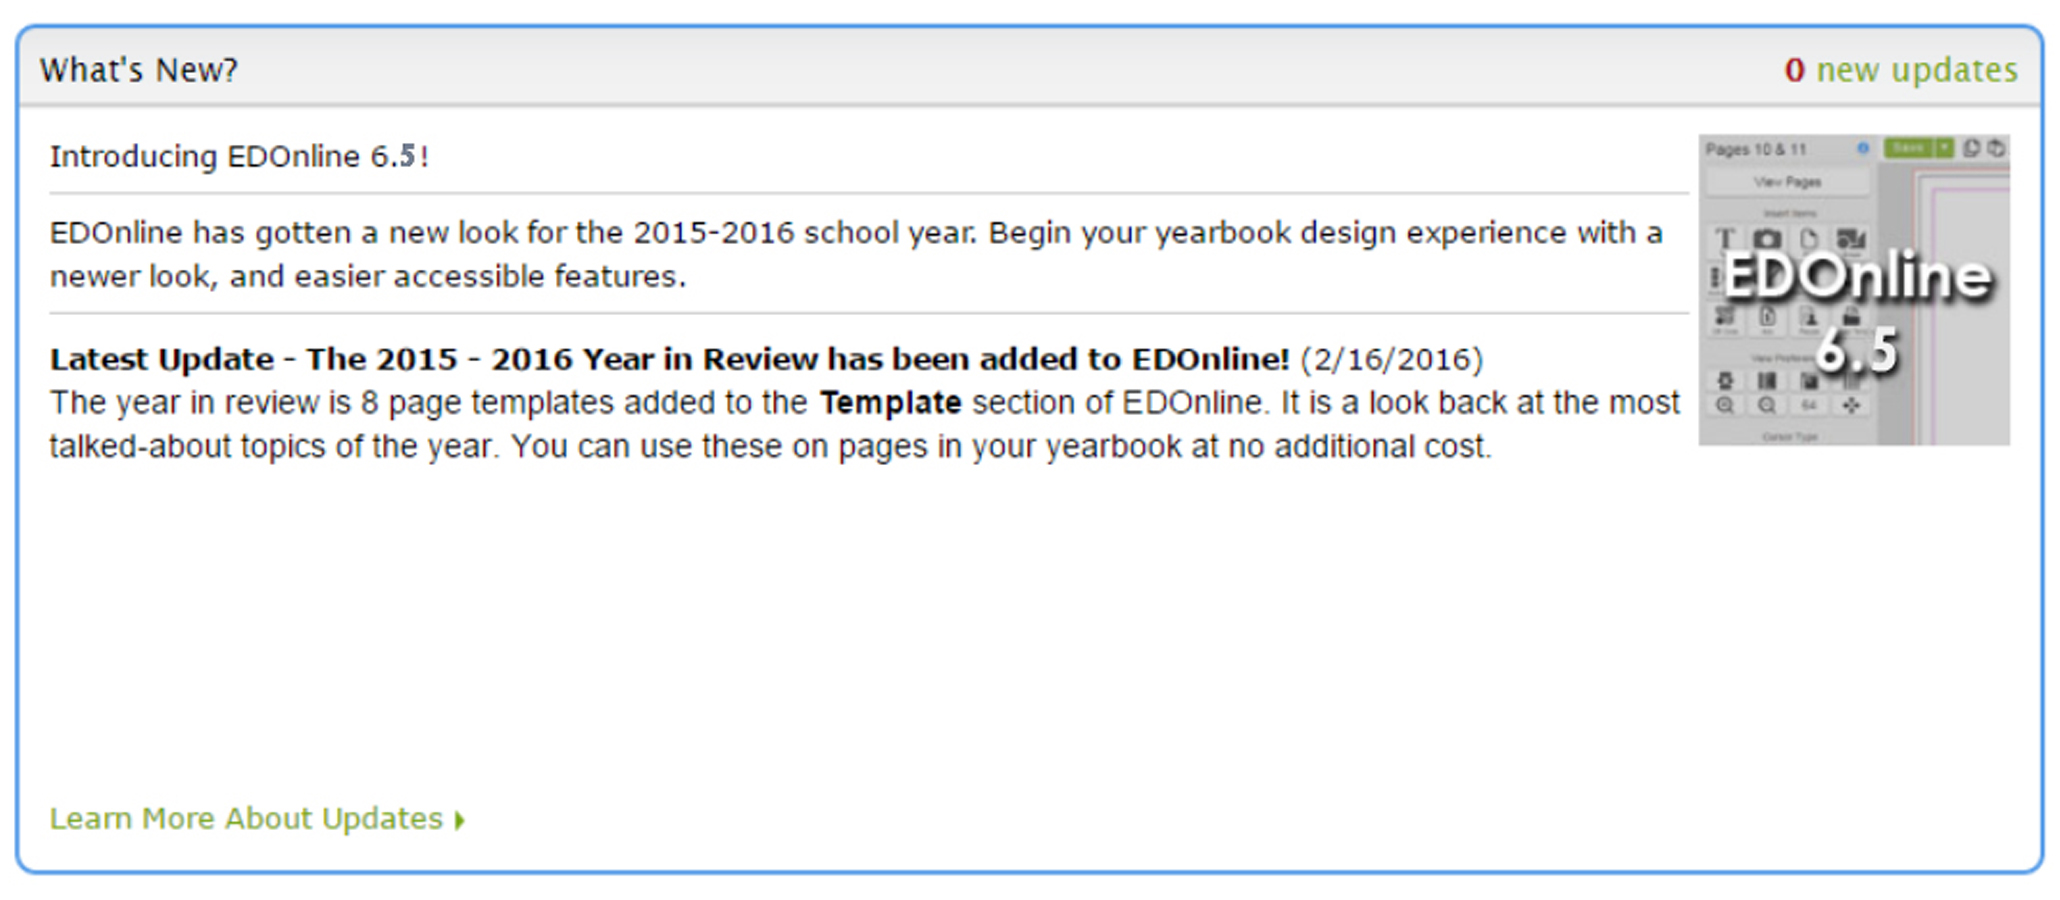
What's New?
In this section, you will be able to follow all of the recent web updates made to the website and online software. This is also where our Web Development Team will notify you of any scheduled maintenance for the website. Click the link to see the full list of website updates and scheduled maintenance.
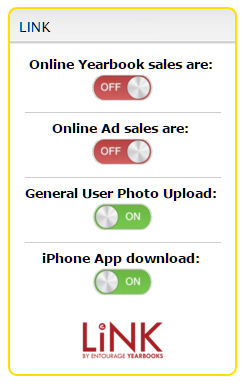
LINK!
Is a service that provides an ongoing "LINK" between you and your yearbook community. We believe yearbooks will be an important means to preserve memories for years to come. With LINK you can set up and manage online yearbook sales, online ad sales, general user photo upload, and iPhone App download. (Android App: COMING SOON) To activate the access and configure your preferences click the button labeled "OFF" to begin.
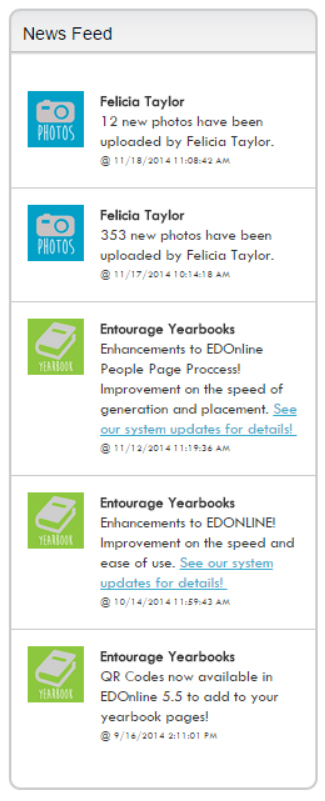
News Feed
With the online News Feed keep track of what activity is happening in your account. When users upload photos, content, and other enhancements about the EDOnline designer; the information along with details of when the events happen will appear here.
Navigating Through Your Yearbook
Manage Tab
This tab allows you to manage your account in various ways. You can edit your book specs and account information, setup your staff members and their permissions as well as their yearbook tasks, manage your pages in your yearbook ladder, and anything that has been uploaded for you to use in the building of your book. Upload: This tab allows you to upload materials that you will need to build and design your yearbook. You can upload photos, pages, covers, and other documents that you might need. Collaborate: This tab allows you to collaborate with members of your yearbook committee, and advisors and students from schools across the country that are also working on their yearbooks! With this tab, you can EXPLORE, SHARE, DISCUSS, and LEARN to enhance your yearbook experience. EXPLORE the greatest library of yearbook templates, SHARE your customised templates or a link to yearbook ideas, DISCUSS technical support questions in a forum to receive help from other advisors or graphic designers, and LEARN through yearbook lessons and how to's.
Upload Tab
This tab allows you to upload photos, pages, and other content. If you choose to design a page on your own software, the "upload pages" feature allows you to upload the page as a PDF to place on the page designer. New features also include easily uploading photos directly from Instagram and Facebook!
Collaborate Tab
This tab allows users to explore templates, our gallery of yearbooks, view your past saved yearbooks to use for future books, read customer testimonials, view past yearbook contest winners and pre-designed covers. Share templates you created, enter into this year's yearbook contest, tell a friend about us as your favourite yearbook design company or connect with students and your community. You can also help your staff to become certified in designing yearbooks with our online curriculum. There is also a chat feature available, so you can chat with people who are also working on the yearbook. Use our new Inspire section for inspiration! We have contests you can enter, cool links to visit, and many more exciting tools to help you think creatively.
Design Tab
This tab allows you to design your yearbook cover, pages, people pages, and if you have any upgrades such as printed endsheets or inside printing. You can also create your yearbook index through the Design Tab.
Help Tab
This tab allows you instant access to extra support from our technical staff. You can access software and yearbook guides, video tutorials, sign up for online webinar training, and contact our support directly via Live Chat, phone or email.
Related Articles
Made by Me - Quick Start Guide
Login to the Website Follow these simple steps to log in to your website: Go to http://yearbooks.spacificnz.com/. You will be taken to the Home Page for all users to gain access to your yearbook site. Click on the link to "Find Your School" Enter the ...Admin Tools
Administrators have full access to all of the features and functions to the yearbook website. You're in the driver's seat leading your yearbook staff in designing a yearbook that you and your school can be proud of. With the many tools to help you ...Uploading Photos
There are 3 different ways and locations to which you, your staff, and community can upload photos to different categories. Be advised you will only be able to upload photos that are .jpg, .jpeg, and .png. (Note:Uploading content that is unsupported ...Setting Up Users on the Website
When logging into your account for the first time you should have set up your yearbook staff from the website homepage “Welcome” popup. But if you have additional late comers to the yearbook project you can follow these steps to add new staff ...How can I apply a shape to a photo?
Insert a photo on to the page, then double-click on the 'Frame Settings' tab. Once the panel opens click on the 'Assign shape' button and choose from our library of shapes.