Backgrounds
Go into the EDOnline Page Designer and begin using the backgrounds by following these steps:
How to insert Backgrounds
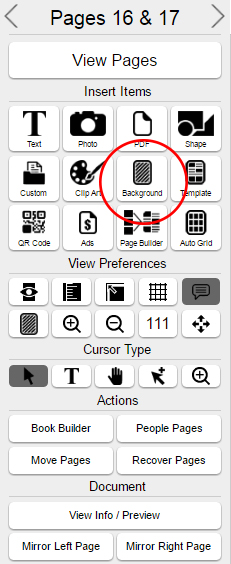
- Click on the "Insert Backgrounds" button in the top left menu. (Note: This button looks like a page.)
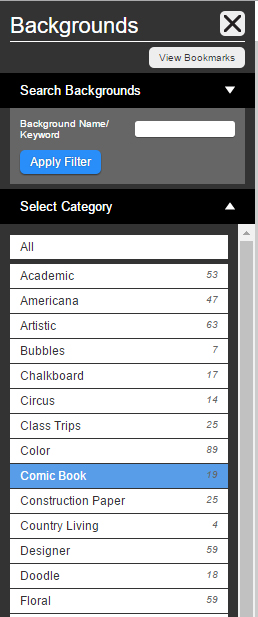

2. You will see a list of background categories on the top.
3. Click on the category you wish to explore.
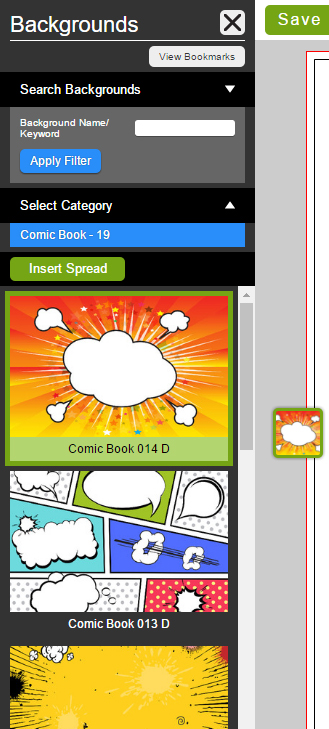
4. The corresponding backgrounds (single page and two page spread) will appear on the right.
5. Select the background that you want to add to your page and click on the page you wish to place your background. (Note: You can also click either to "Insert Left" or "Insert Right", if you are placing a two page spread, the only option will be to "Insert As Spread")
6. The selected background will be placed on the page and you can continue to customize.
Editing Your Backgrounds
By default, backgrounds are on a separate layer than the rest of the content on your pages in EDOnline 7.0. Due to this, to edit your background, you must be in "Edit Background Mode". (Note: If you try to select your background without being in edit background mode, it will not work.) You will find the Edit background button in the "View Preferences" section.
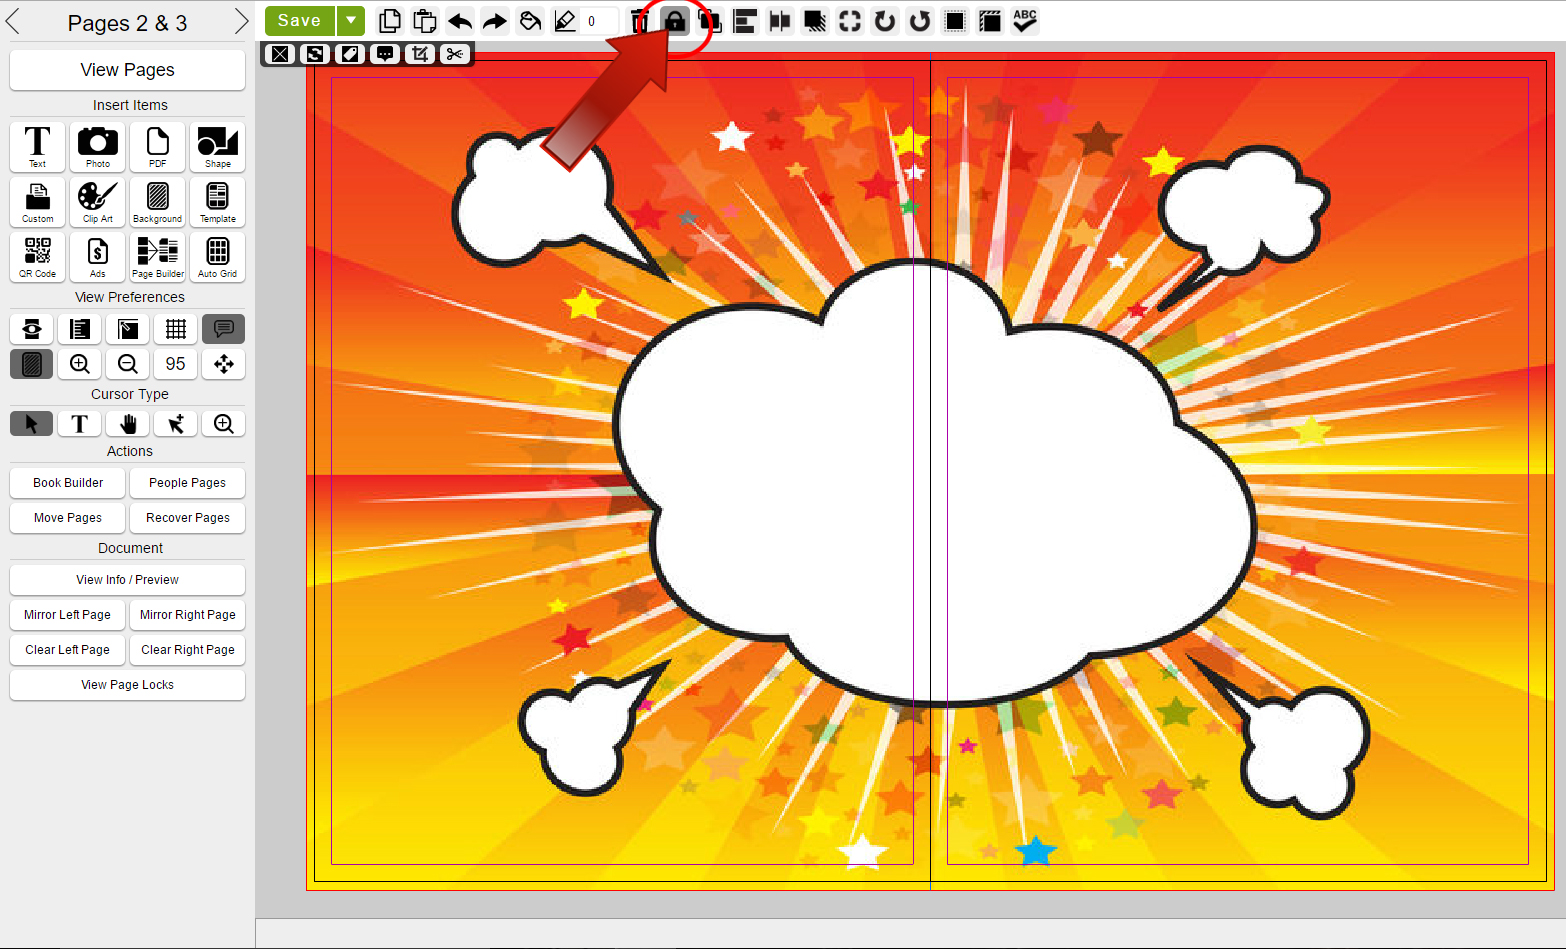
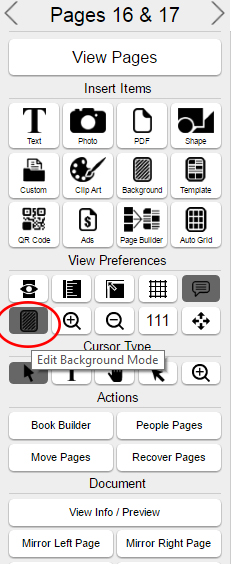 Once you are in "Edit Background Mode", you will be able to select your background to edit. As you can see all other content on your page spread will disappear leaving only your background image. You will need to click on the background and select the "Lock" icon to unlock your background and edit. (Note: You will not be able to delete your background unless you are in Edit Background mode.)
 To remove your background, you select your background while in "Edit Background Mode" and either hit the "trash" icon at the top of your toolbar, or hit "delete" on your keyboard.
Using Bookmarked Backgrounds
If you have bookmarked backgrounds from the Explore page you can find them here. Follow these steps to locate your bookmarked backgrounds from the EDOnline Page Designer:
• Click on the "Insert Backgrounds" button from the Insert Items menu.
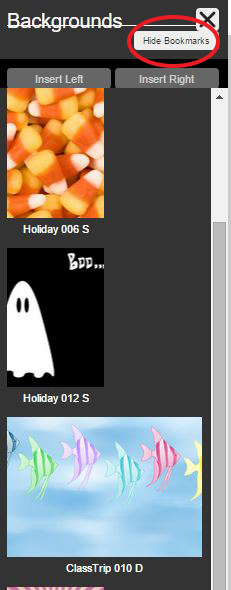
• Click on Bookmarks button at the top right corner of the popup menu.
• Your bookmarked backgrounds will be located here to choose at your leisure.
 How to Change Backgrounds Appearance
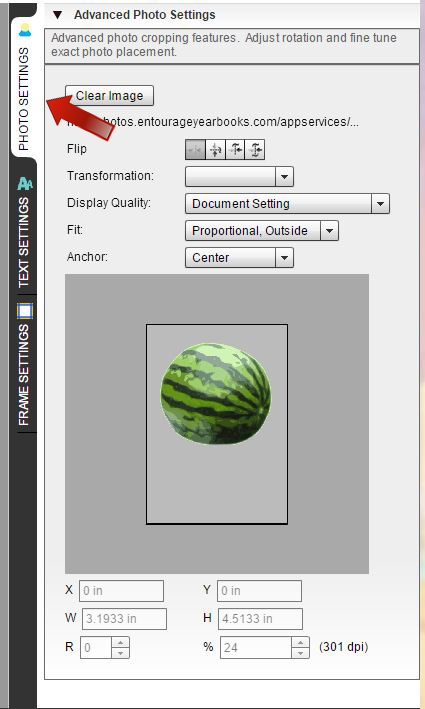
To change the opacity of the background by lightening or making them darker; can be done by using the "Photo Settings" tab on the right side of your workstation.
First make sure the background is unlocked. With the background selected, go to the "Photo Settings" tab from the Advanced Menu options and select the drop down labeled "Transformation". You can choose the options in the list to change the appearance of your background.
Changing the Background's Opacity
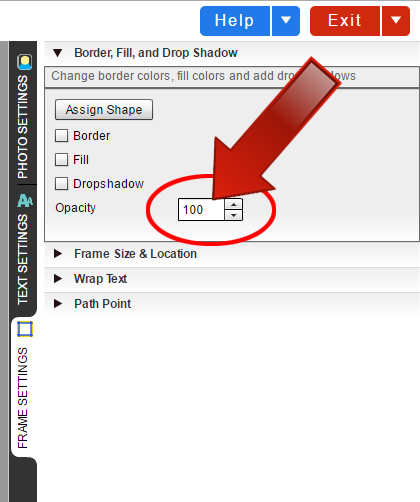
You can change the opacity of your background by clicking on the "Frame Settings" tab from the Advanced Menu options on the right side of your work station. Select the drop down options for "Border, Fill, and Drop Shadow". You can then change the percentage of opacity of your background by clicking on the up or down arrows or enter in a value.
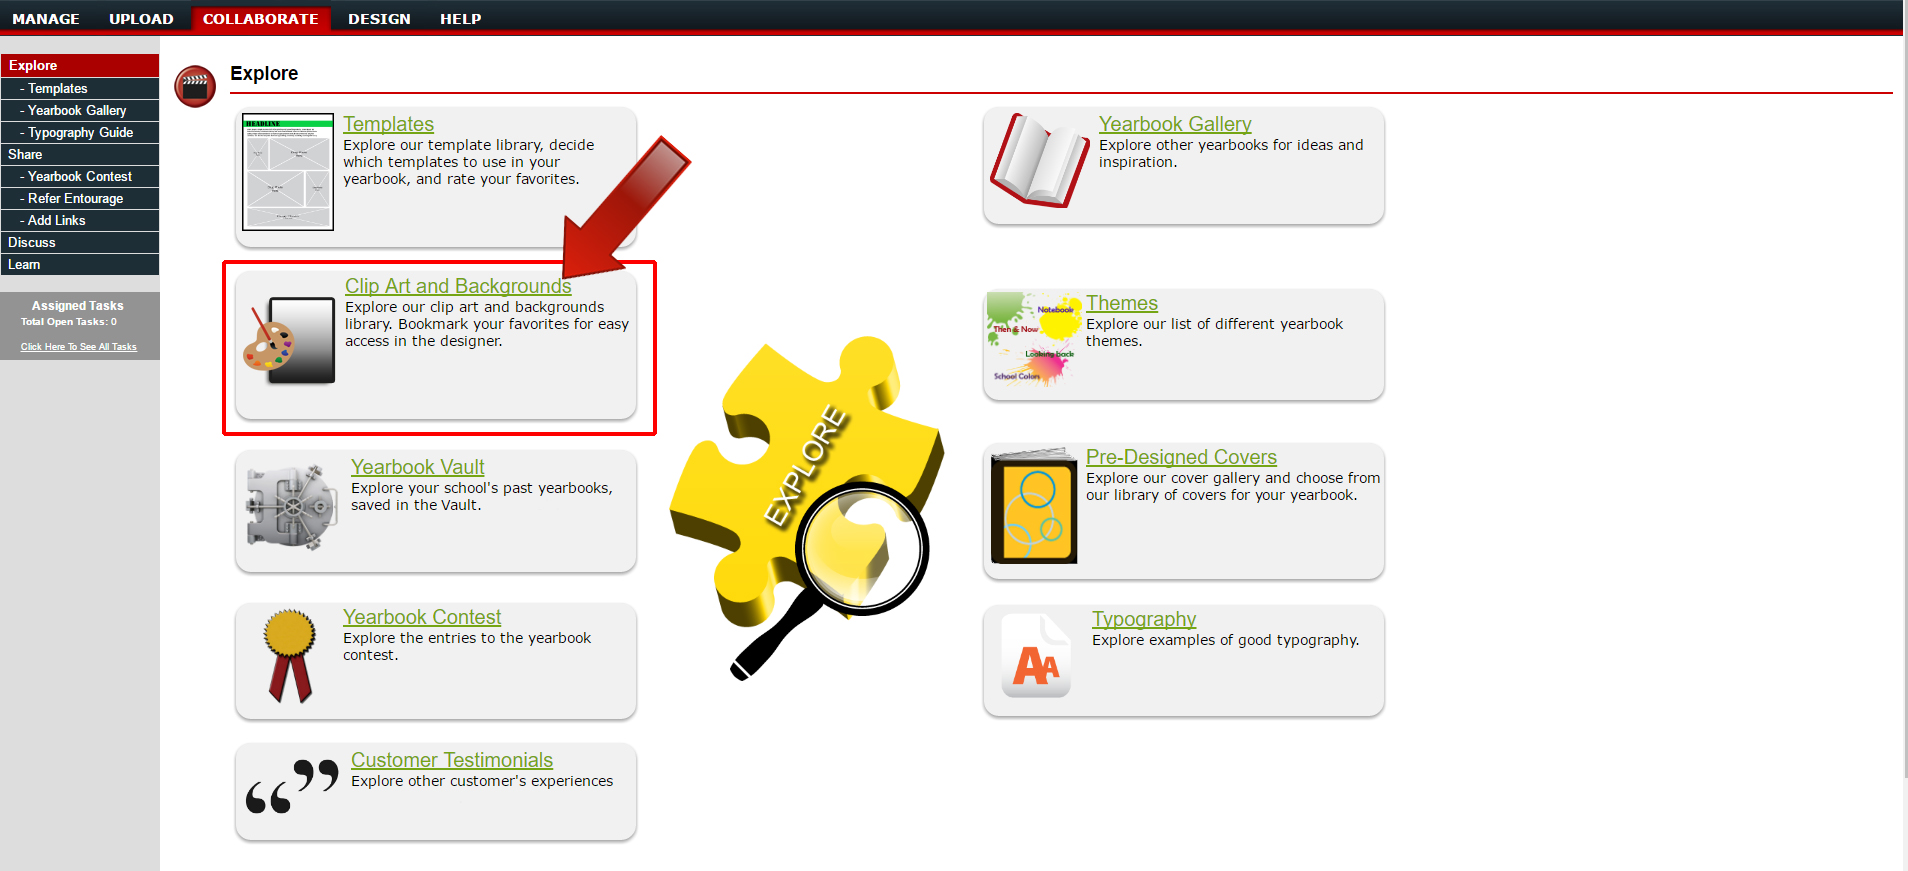
Explore our background gallery and choose from our library for your yearbook. Go to the Collaborate Tab from the main menu and click on "Explore". From there click on the link "Clip Art and Backgrounds". Select any background you like for a larger preview for a closer look.
Related Articles
Templates/Custom/Bookmarking
We offer vast galleries of Templates and Backgrounds to choose from. You can bookmark templates and backgrounds or save a designed page as a template. Follow these steps to insert a template. Insert A Template Inside the page designer on the left, ...Page guidelines
Understanding the guidelines of your pages and its use is very important before getting started to design your page. You want to be able to view the contents on your page so you want to make sure your page doesn't cut off or hide key parts that makes ...Inserting Clip Art
Browse our gallery of clip art to insert onto your page to give it a more distinctive look. There's a wide variety to choose from ranging from holidays, events and everyday images. How to Use Clip Art 1. Click on the "Insert Clip Art" button from ...