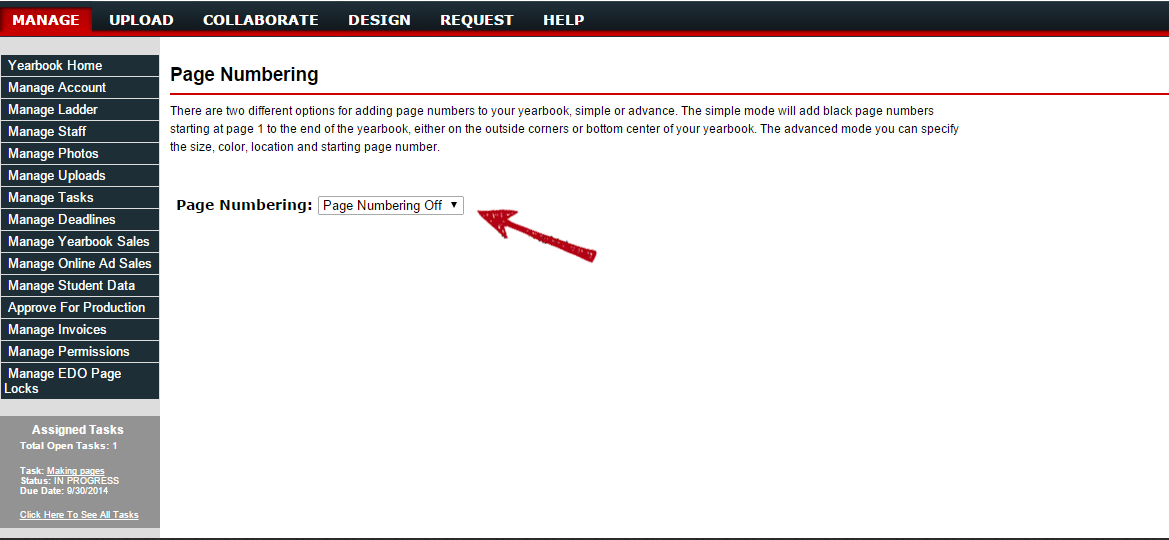
Page Numbering
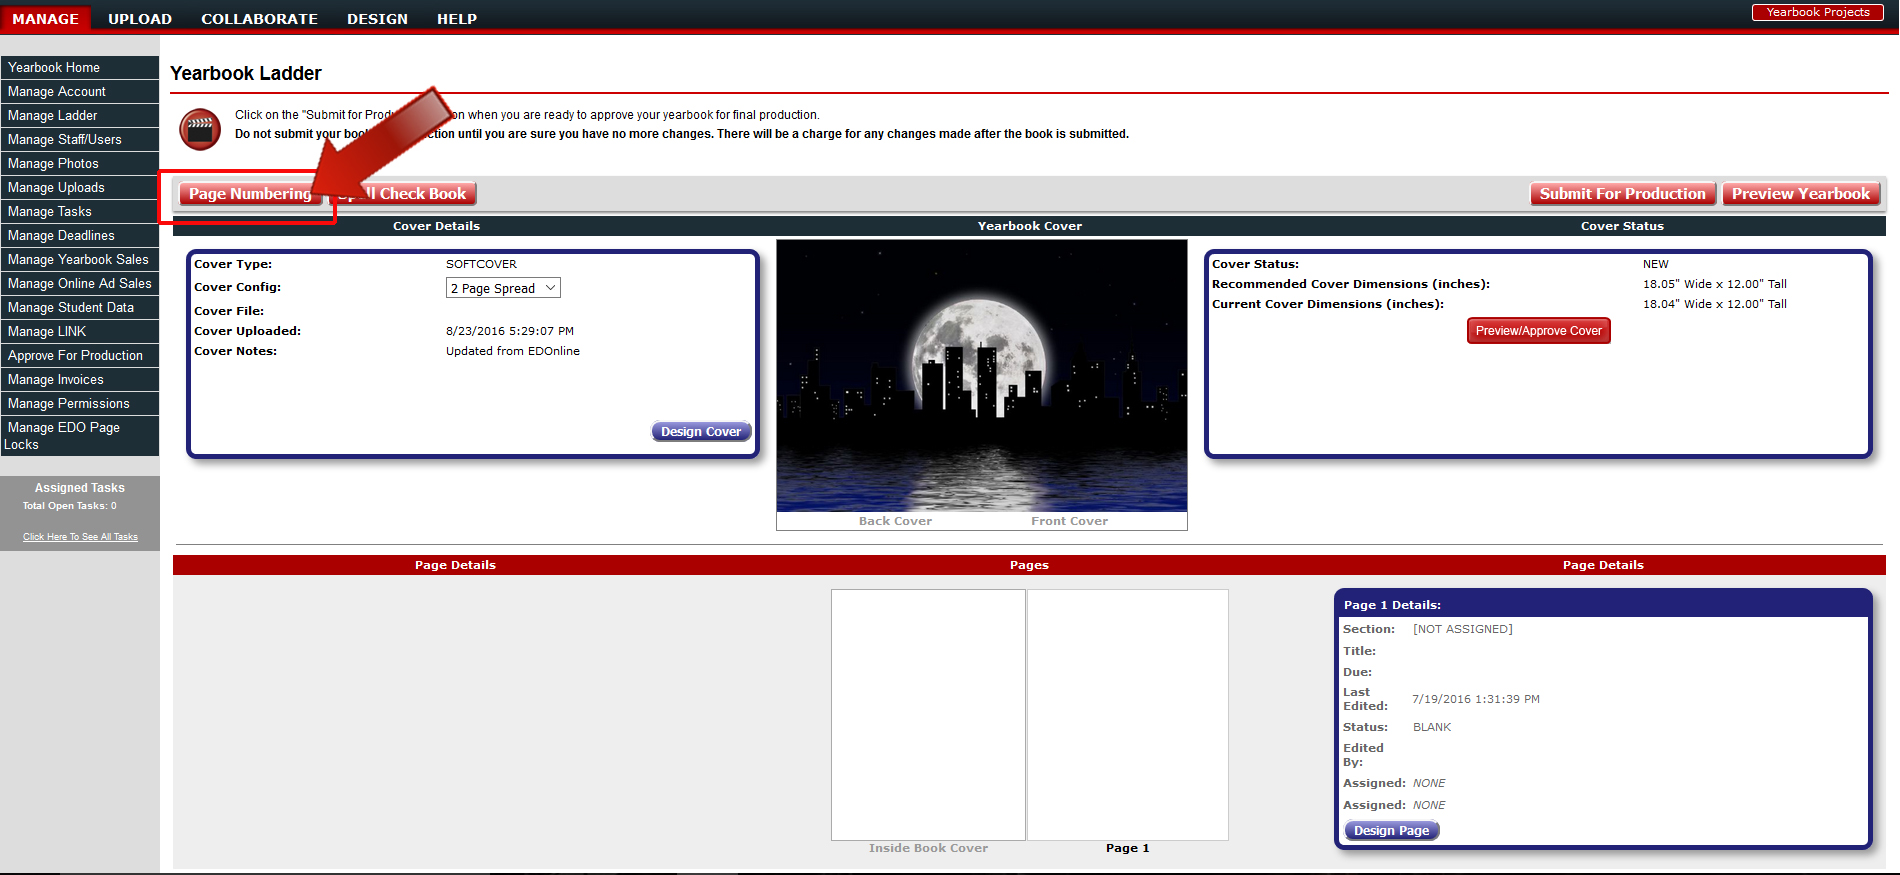
Adding numbers to your pages is no longer frustrating or time consuming. Any Admin/Yearbook Advisor who has access to the Yearbook Ladder can conveniently add numbers to their pages using simple to advanced options. Go to your account's yearbook ladder to find the Page Numbering button to get started.
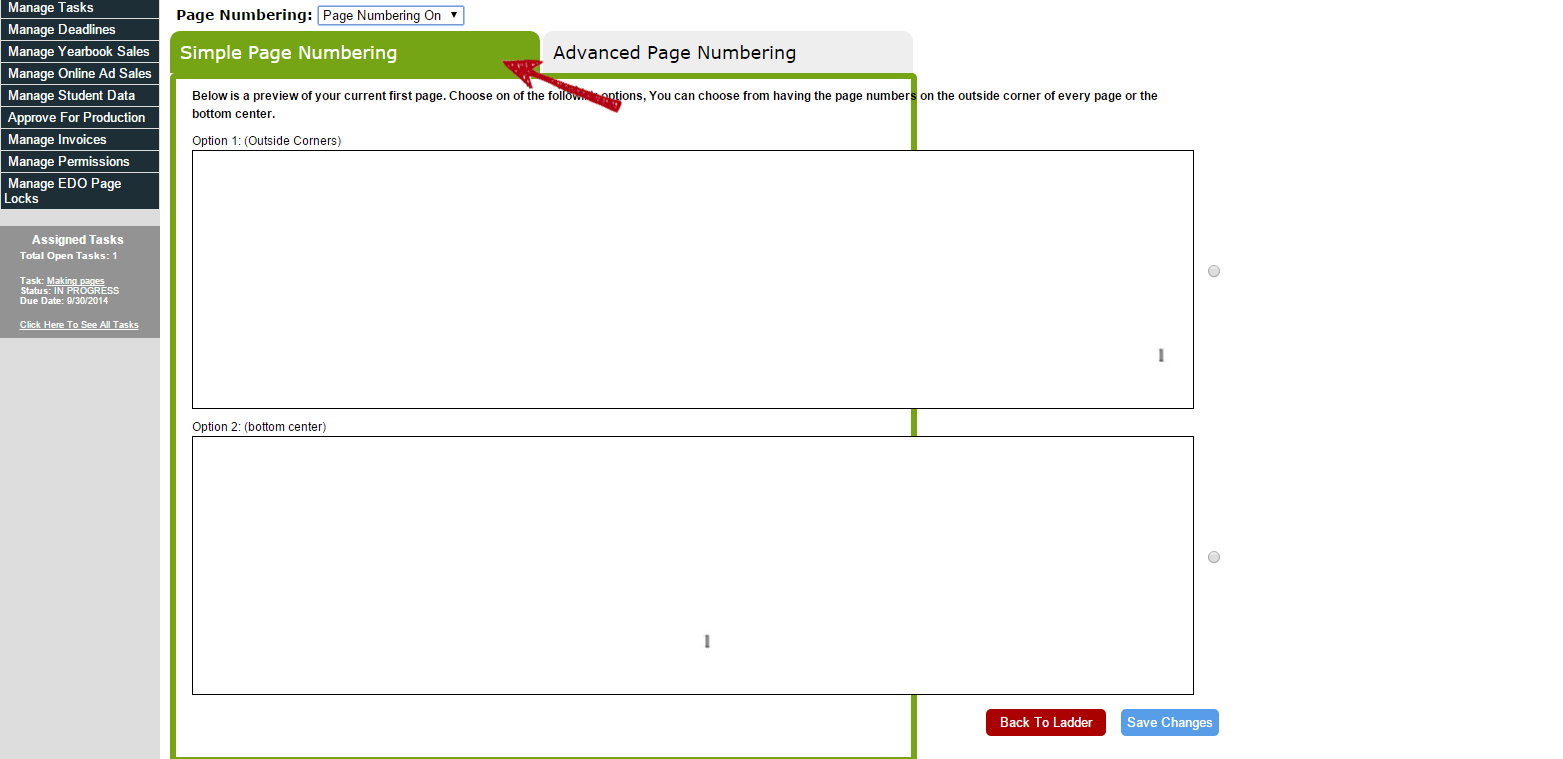
When you activate the Page Numbering feature; there are two different tab options: Simple Page Numbering and Advanced Page Numbering. Let's take a closer look at each tab and how it functions as it interacts with your yearbook ladder.
Simple Page Numbering
The Simple mode will add black page numbers starting at page 1 to the end of the yearbook, either on the outside corners or bottom centre of your yearbook. You will see a preview of your current first page. Once you make your selection click the button, Turn on Page Numbers.
Advanced Page Numbering
For more advanced options to adding numbers to your pages you can specify the size, color, location and starting page number. Choose from the following options:
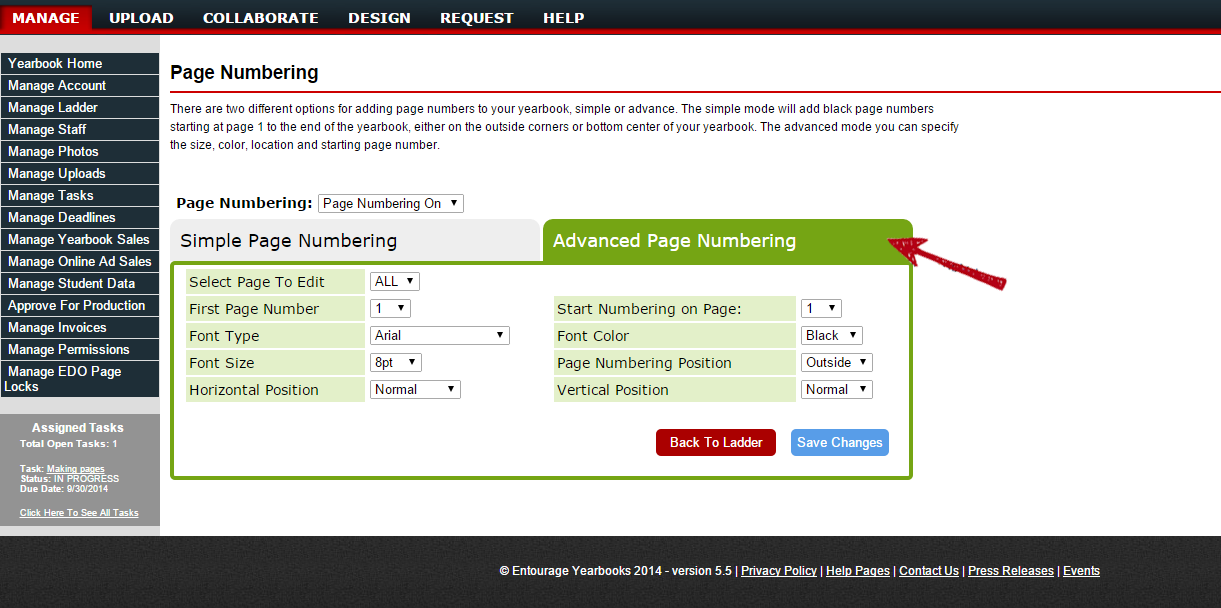
Page Numbering Active: Activate Page Numbering
First Page Number: Choose the beginning number which will appear on your first page.
Font Type: You have 3 different common selections to choose from
- Arial
- Times New Roman
- Comic Sans MS
Font Size: Minimum point size is 8pt; Maximum point size 24pt
Select Page to Edit: You can choose to edit all pages or one in particular that needs a different colour in order for the page number to be seen. You can also nudge the current default position of the page number horizontally and vertically.
Font Colour: Choose a colour to make the number visible against the page
- Black
- White
- Red
- Green
- Blue
Page Numbering Position: Change the position in which the page number appears
- Center
- Outside
Horizontal Position: Slightly, nudge your page numbers horizontally
- More Left
- Left
- Normal (Default)
- Right
- More Right
Vertical Position: Slightly, nudge your page numbers vertically
- Highest
- Higher
- Normal (Default)
- Lower
- Lowest
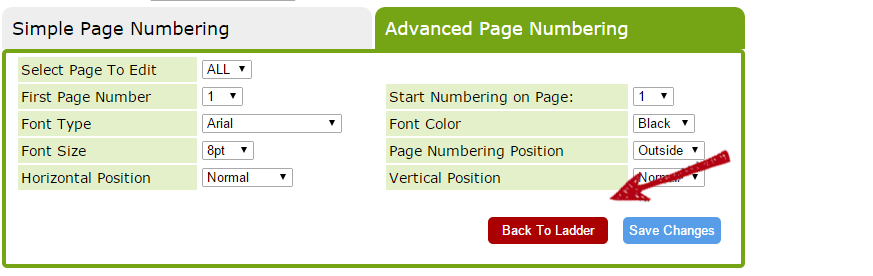
Note: The options to change the Horizontal and Vertical positions only become active when editing a single page.
After customising your page numbers and saving your changes, you can return to the page ladder by clicking the button; Back To Ladder. Click on a page from the ladder for a quick preview of how your page number will appear. Note: Your page numbers can only be viewed from the Yearbook Ladder. If you are using the EDOnline 7.0 software you will not be able to preview the page numbers. Page Numbering is a separate feature from the EDOnline page designer.
Note: You can turn off page numbering at any time by selecting Yes from the drop down menu and clicking Turn off Page Numbers. The page numbers will only be viewable on your downloaded PDF preview after your yearbook is approved for production.
Related Articles
Page guidelines
Understanding the guidelines of your pages and its use is very important before getting started to design your page. You want to be able to view the contents on your page so you want to make sure your page doesn't cut off or hide key parts that makes ...EDOnline Page Design
It's time to get started to design your yearbook. You have a great idea and you want to bring it to life on your page. Let's put your best foot forward because you must be excited to get started! Follow these steps to begin designing your page. ...Creating a Page Plan
Using Microsoft Word You can simply type out your page plan as a list in Word. Each line should represent a page or spread (two facing pages) in the yearbook. Put the page number first, then what goes on that page. If there is more than one article ...What Does a ‘Double Page Spread’ Mean?
This is when an article or related content is spread across two facing pages. To create a double page spread on a page plan, you will need to allocate these pages to an even page number first (left hand page) followed by an odd number (right hand ...How many words to a page?
An A4 page will fit approximately 800 words without any photos. Refer to the Knowledge base article 'How Many Words/Photos Do I Need for an Article?' in the Getting Started section for full details on article word counts.